


Description
This art kit is a good foundation for young ones to start learning sand art skills.
Children will experiment using coloured sand in two projects;
- To create patterns inside a plastic bottle by using designing tools.
- To colour sand art sheets.
Some of the skills to be learned are :
- Colour matching and pattern making
- Fine motor skills by gripping the design tools.
- Inspires creative thinking and imagination.
- Cultivates children’s patience.
- Promotes self-confidence and independence when children create something from start to finish.
- Sand activities are proven to reduce stress.
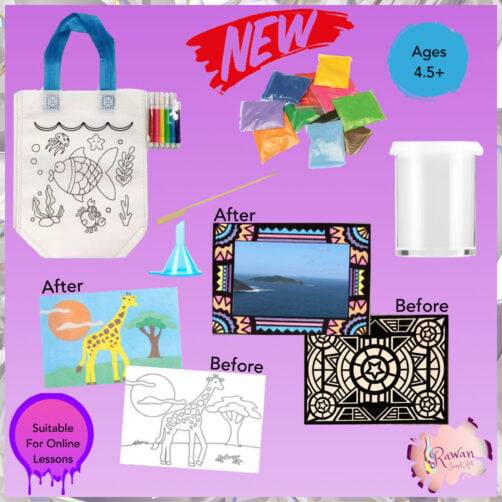
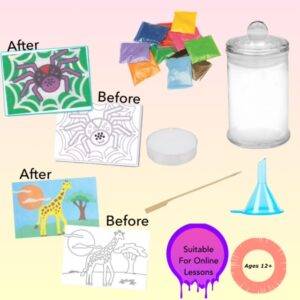
Materials Include:
- 1x Plastic bottle with lid 50ml
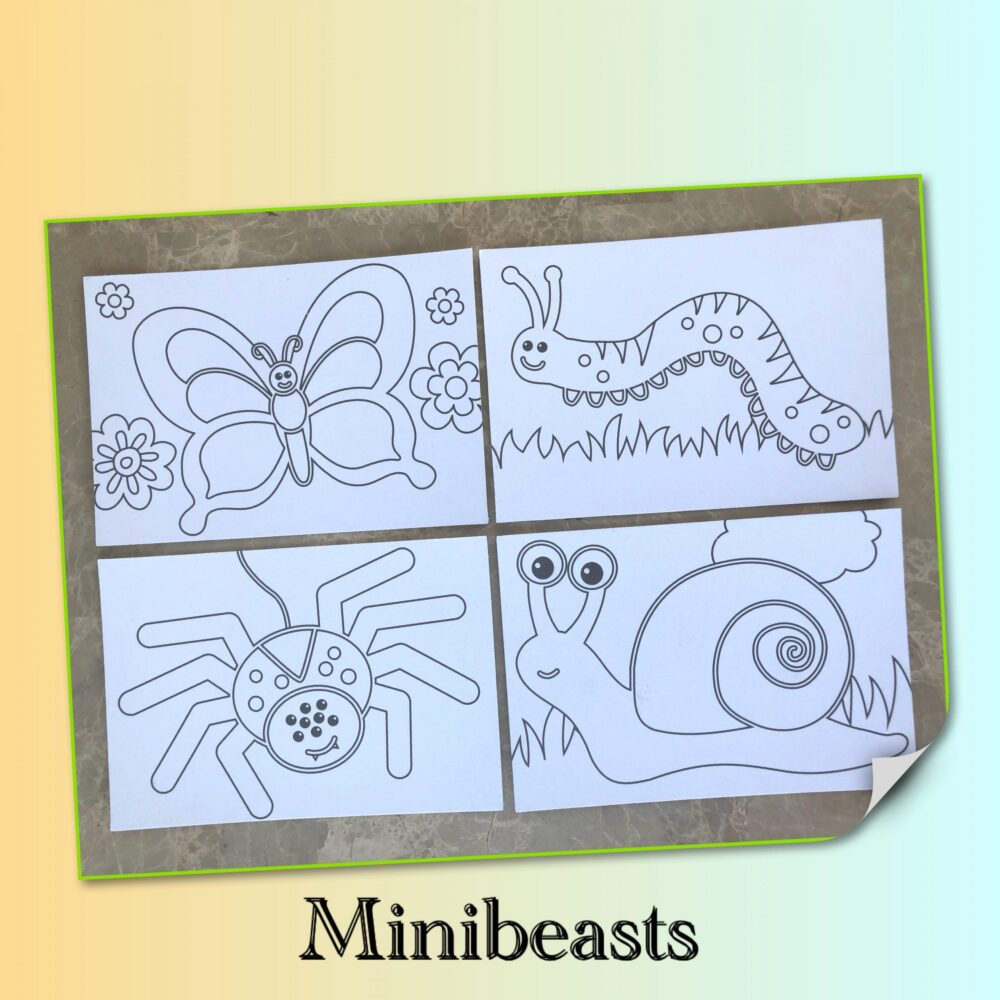
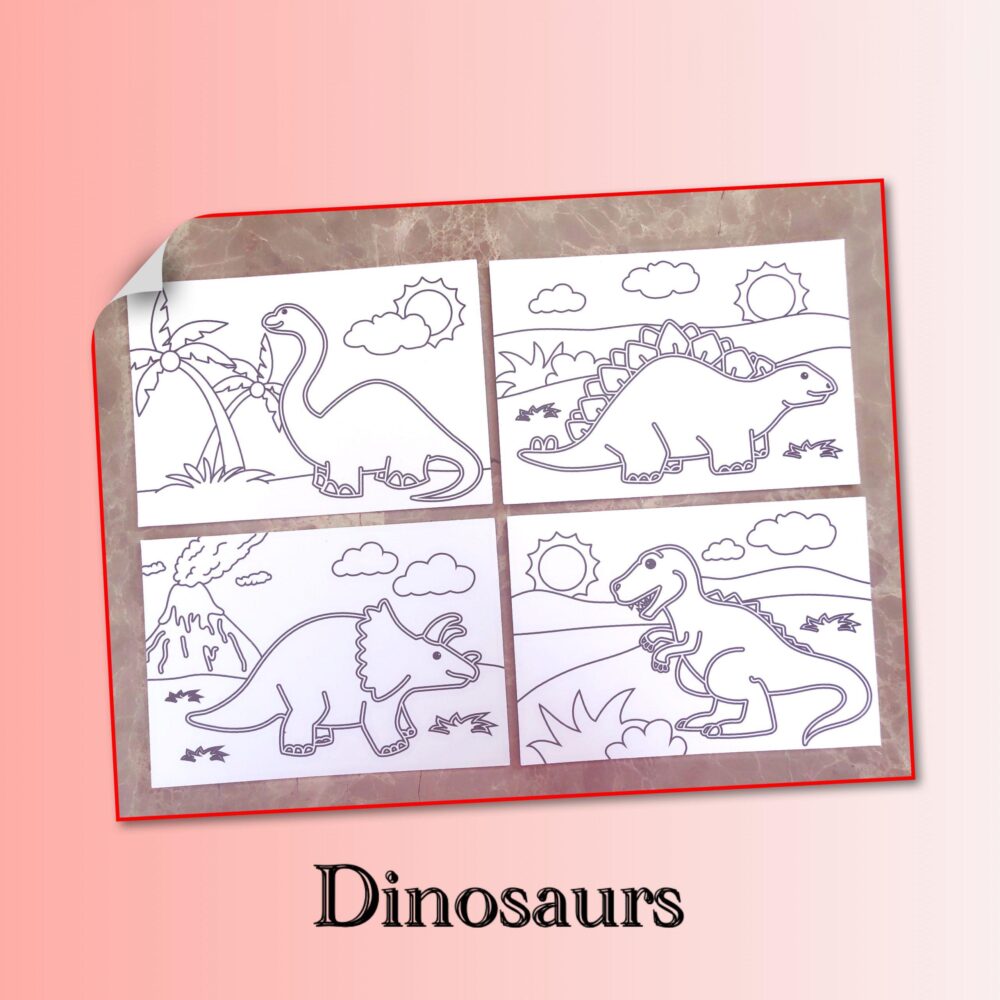
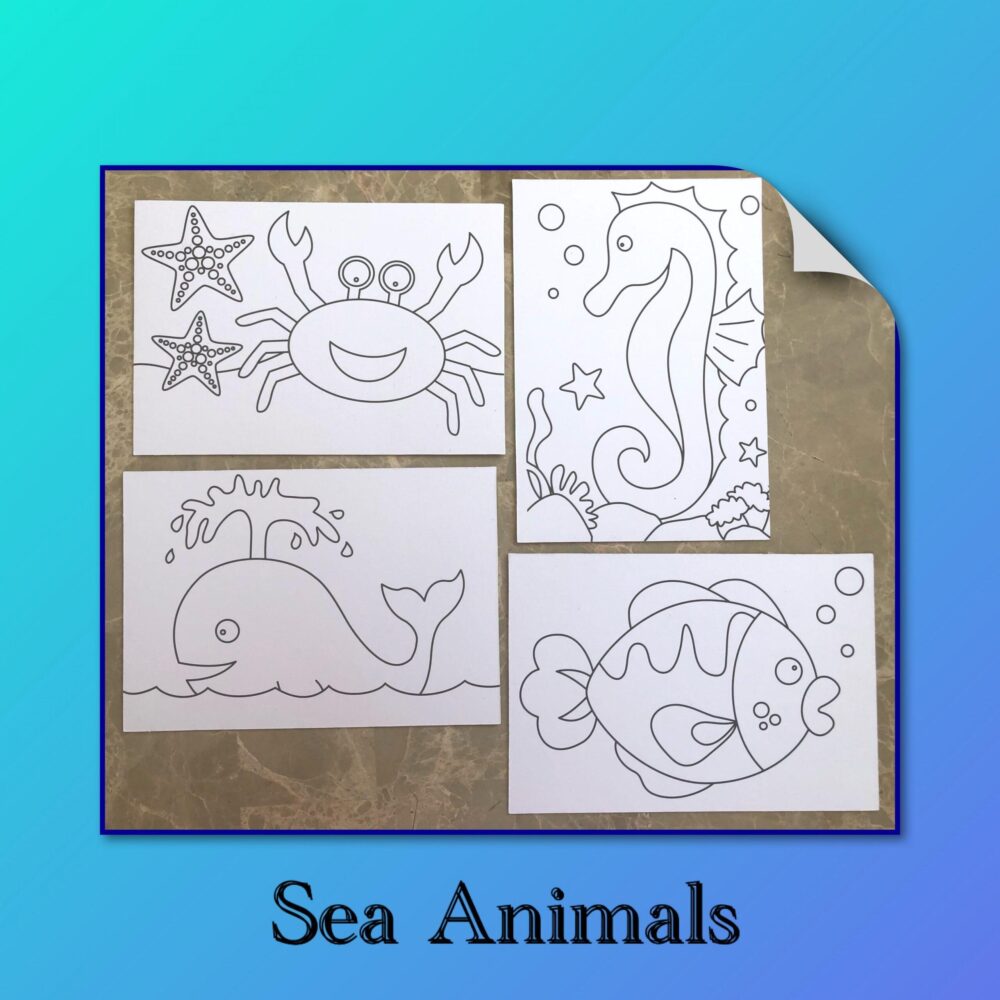
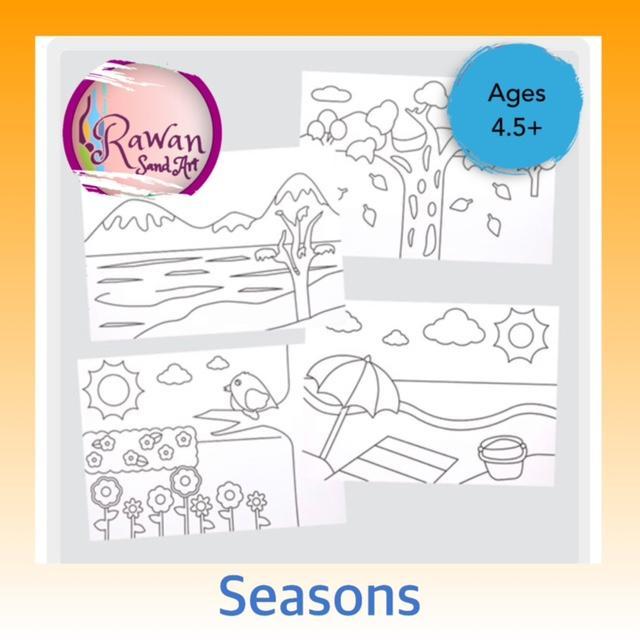
- 1x Sand art cards A5 Size (21x15cm) (Five different themes to choose from: Safari Animals, Sea Animals, Dinosaurs, Seasons and Mini-beasts)
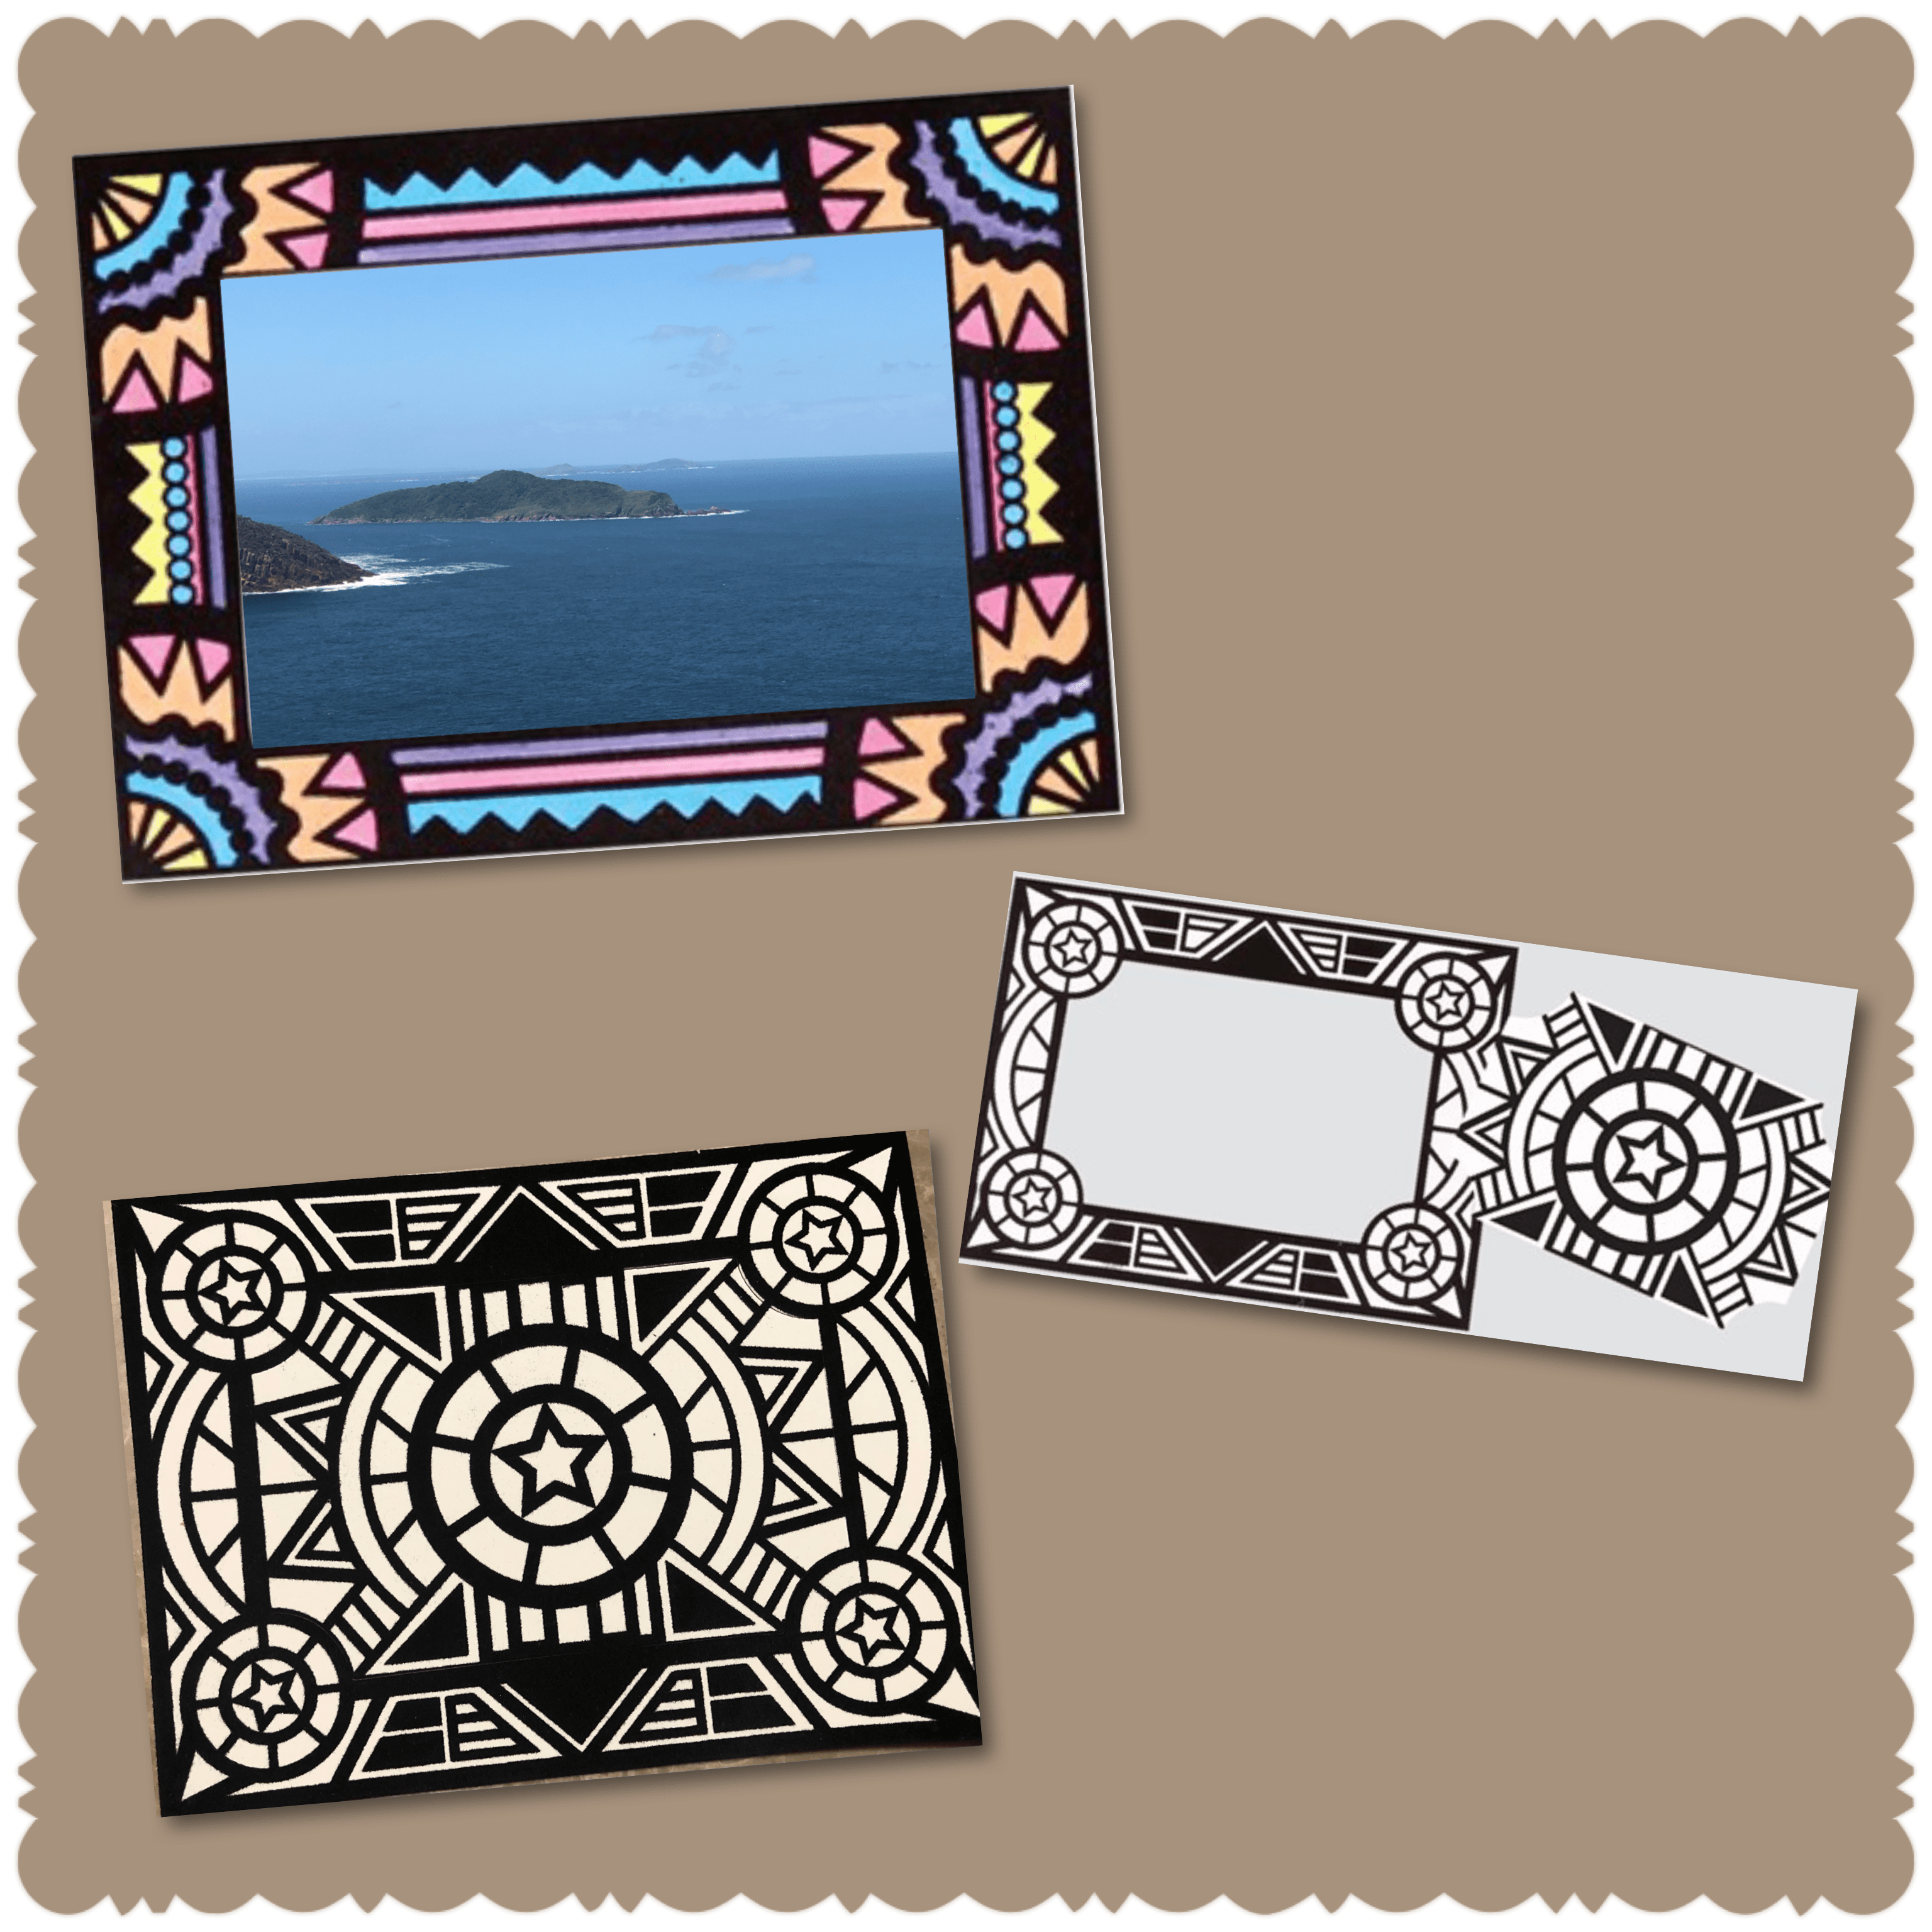
- 1x Velvet Art frame measures 21 x 16cm. Space for photo measures 15 x 10cm.
- 8x Sachets coloured sand includes: red, orange, yellow, pink, green, brown, black, lavender, white& blue.
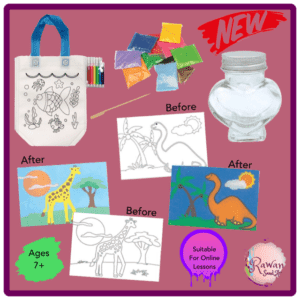
- 1x DIY Graffiti bag (Bag will be randomly chosen from a range of colours)
- 6 Pack Colored markers
- 1x Designing tool (wooden stick/brush)
- 1x Plastic funnel
This kit comes with a Velvet Art frame. It has a raised black velvet texture design for you to create. The middle section has a bonus postcard, which you can replace with your photo.
Enjoy colouring this plain, thick frame with included coloured markers.
*Recommended ages 4.5+ years old
*Parental supervision is recommended.
*Sand bottles/cards are empty/uncoloured, coloured pictures are just a sample of the finished product.
Instructions to create the Sand Art Bottle :
- Place an A4 paper underneath the bottle to minimise mess & collect any sand spillage to reuse
- Pick out a sandbag
- Start pouring some sand slowly
- Layer the colours of sand to create a fun pattern
- As you go, use the design tool(wooden stick)to push the layers down to create designs within each layer.
- Make sure you fully fill the bottle with sand before you secure the lid.
- Enjoy! (Tip: Hold the bottle with one hand and design with the other one)
Instructions to colour the Sand Art Cards:
- Place an A4 paper underneath the card to collect sprinkled sand & minimise mess.
- Use the tip of the wooden tool to peel off the paper from the adhesive card. Tip : push down with the wooden stick on a black line on the card
- Sprinkle with your choice of coloured sand. Tip: Do one colour at a time, best to start with darker colours first
- Use the wooden tool to spread the sand over if needed.
- Pour the excess sand from the card onto the A4 paper then into the sandbag to reuse
- Create & Enjoy!
Instructions to colour the Graffiti Bag:
- Place a barrier inside the bag (e.g. an exercise book) to prevent colour stain at the back of the bag.
- Use the coloured markers to colour your bag.
- Be creative and have fun!
Instructions to create the Velvet Art Flower:
- Use coloured markers (included) to decorate the flower before construction. Ensure that any colour is dry before continuing.
- Starting from the outside, roll the flower template inwards until you reach the centre. Make sure you roll the flower as tight as possible so that it holds it’s shape.
- Use a glue dot to attach the bottom piece to the side of the flower, leaving an opening in the centre for the stem.
- Fold a stem in half and twist the two pieces tightly together until you reach half way.
- Thread a leaf onto one half of the stem . Continue to twist the two halves together until you reach the end.
- Place the stem into the centre of the flower and use glue dots to secure the two together.
*Note: This product ships FREE when purchased with online lesson
The kit is suitable for children aged 3-10 yrs old, check out the benefits of sand play for children


Reviews
There are no reviews yet.